Aures ODP 444 Help
GO BACK TO ALL PRINTERS

GETTING STARTED

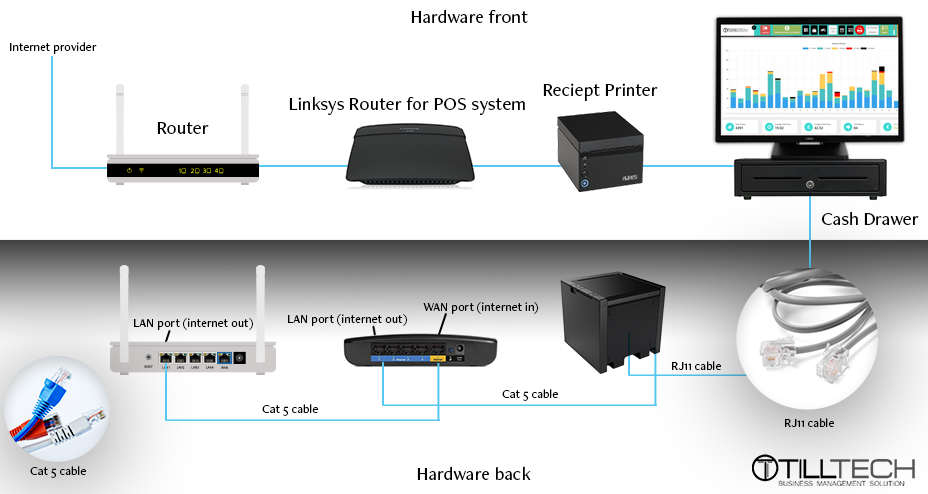
Use the guide below to connect your printer:

LAN Printers

USB Printers
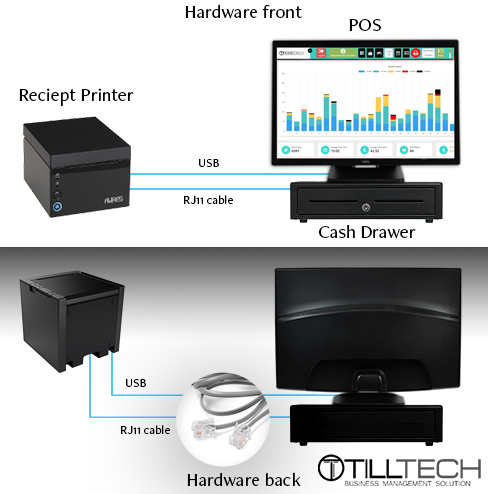

Connecting to Power

Before connecting any of the cables, make sure that both the printer and computer are turned off.

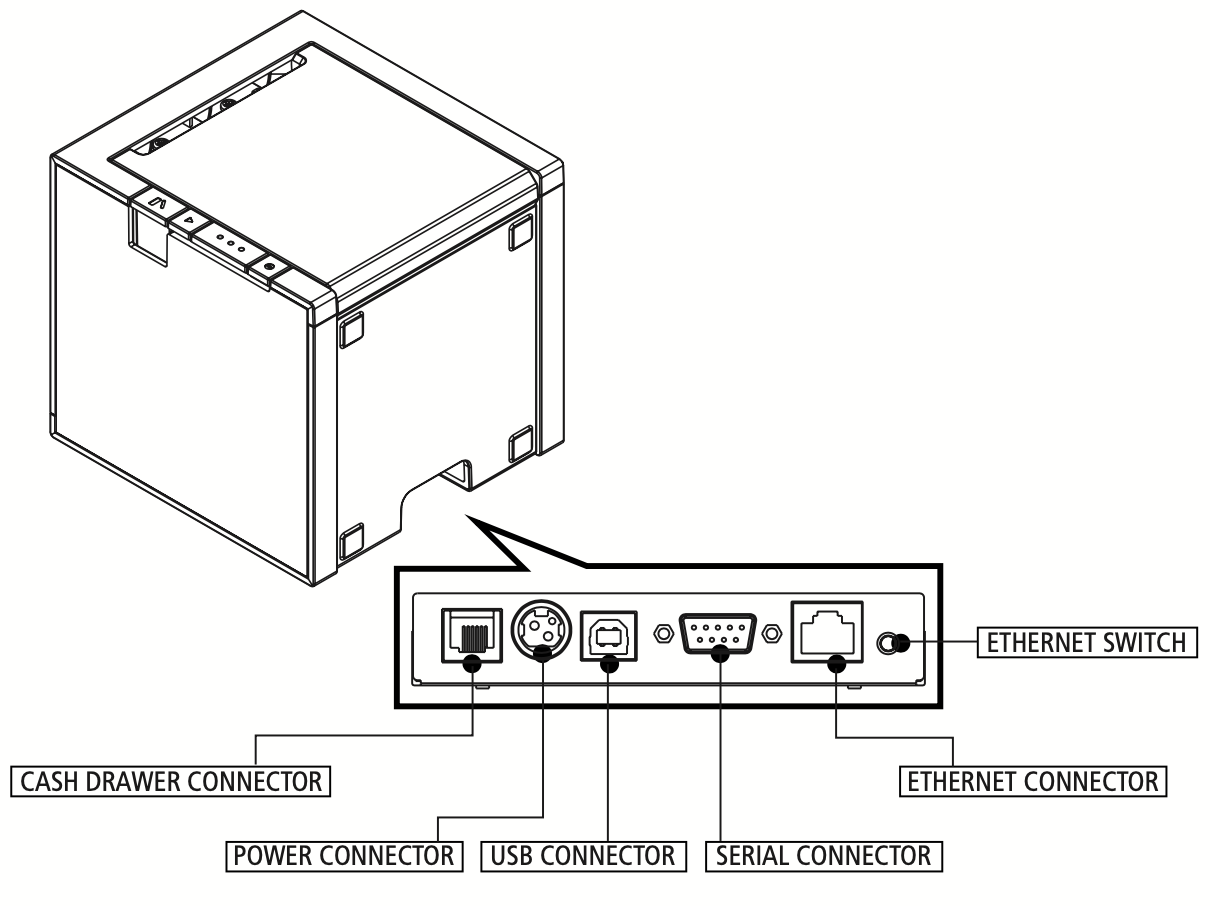
All cables connect on the rear side of the printer as shown:
GO BACK

Changing a Receipt Roll

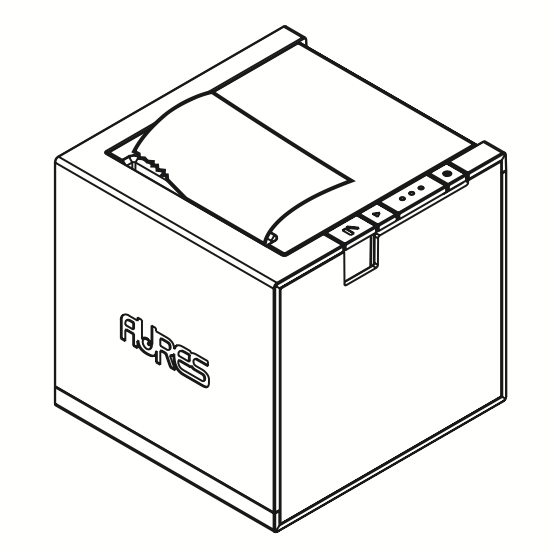
  1. First, turn off the printer.
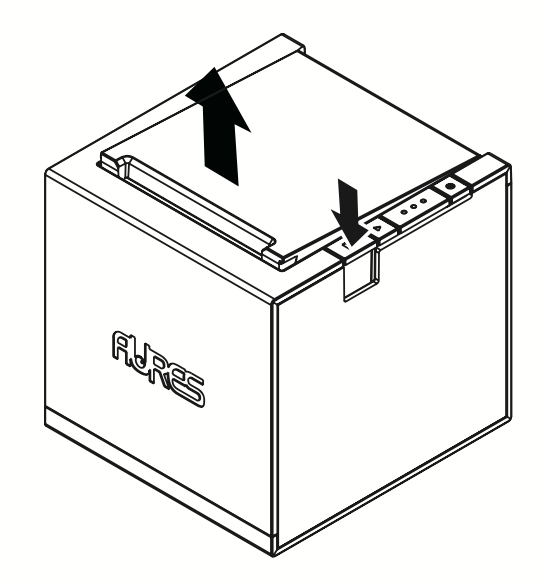
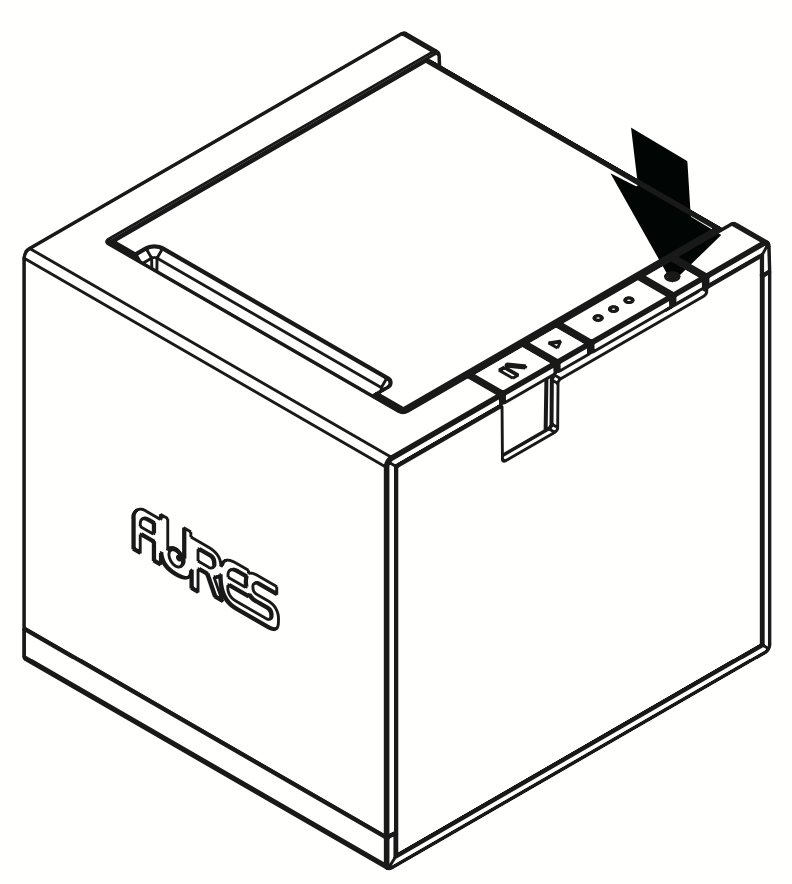
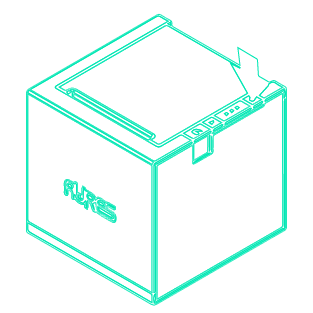
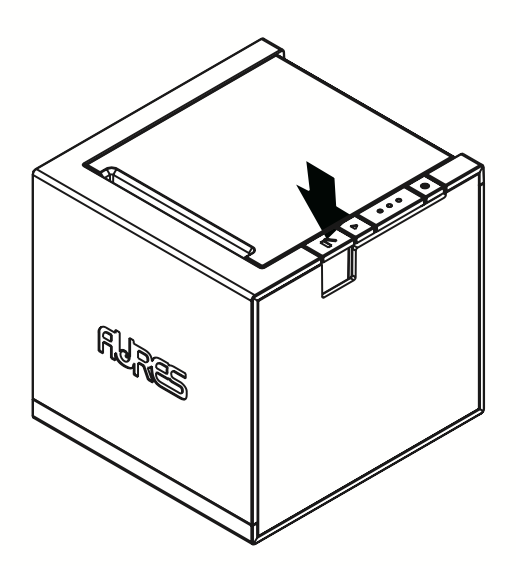
  2. Open the top cover by pushing down the cover open button.
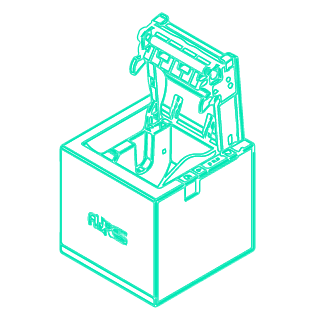
  3. Remove the used paper roll core if there is one inside.
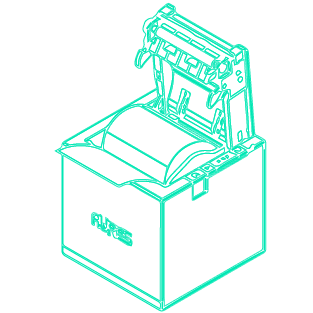
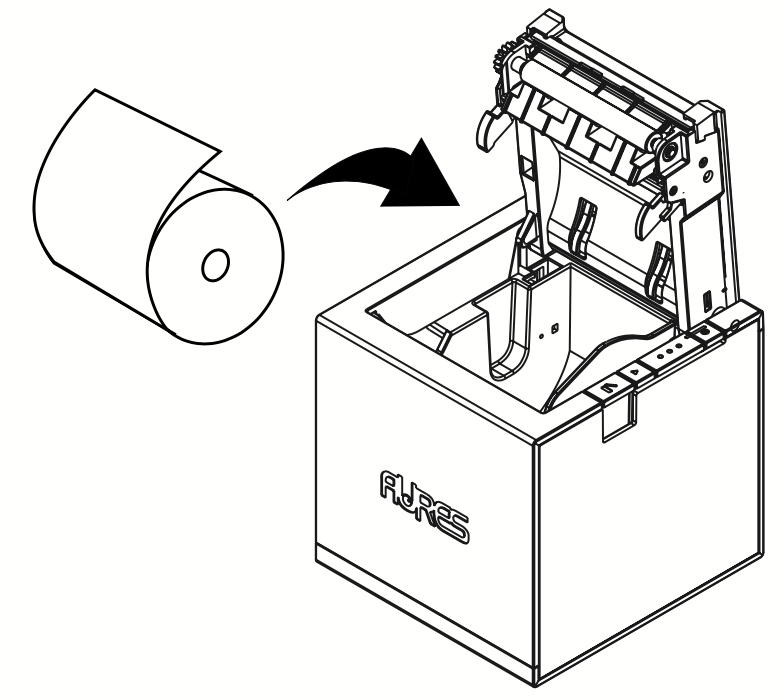
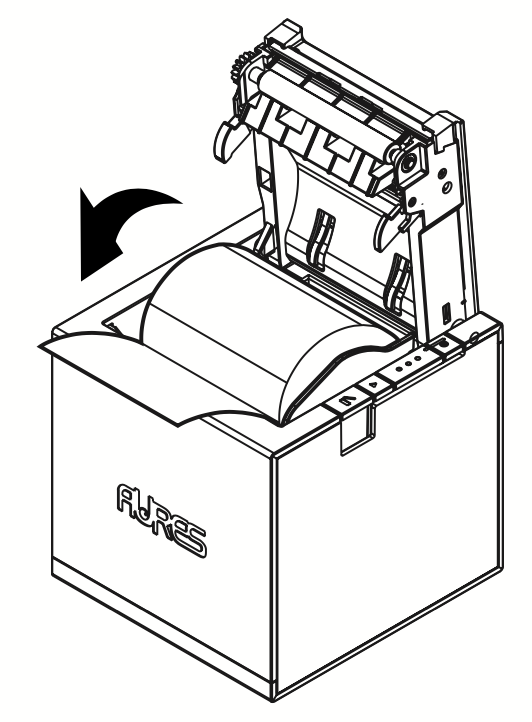
  4. Insert new paper roll as shown.
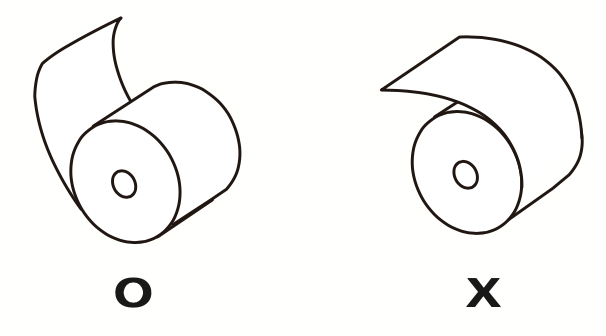
  5. Note the correct direction of how paper comes off the roll.
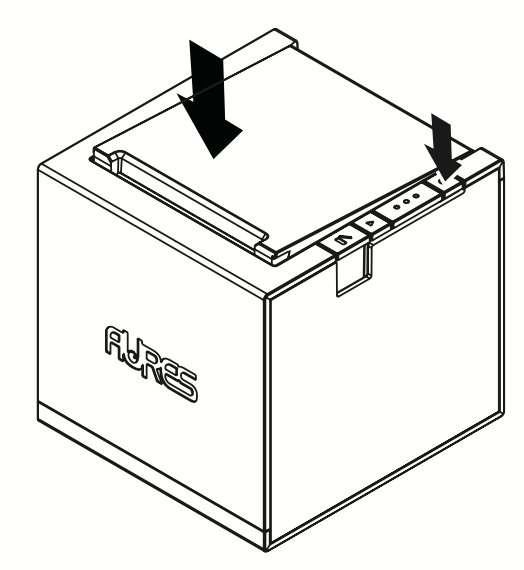
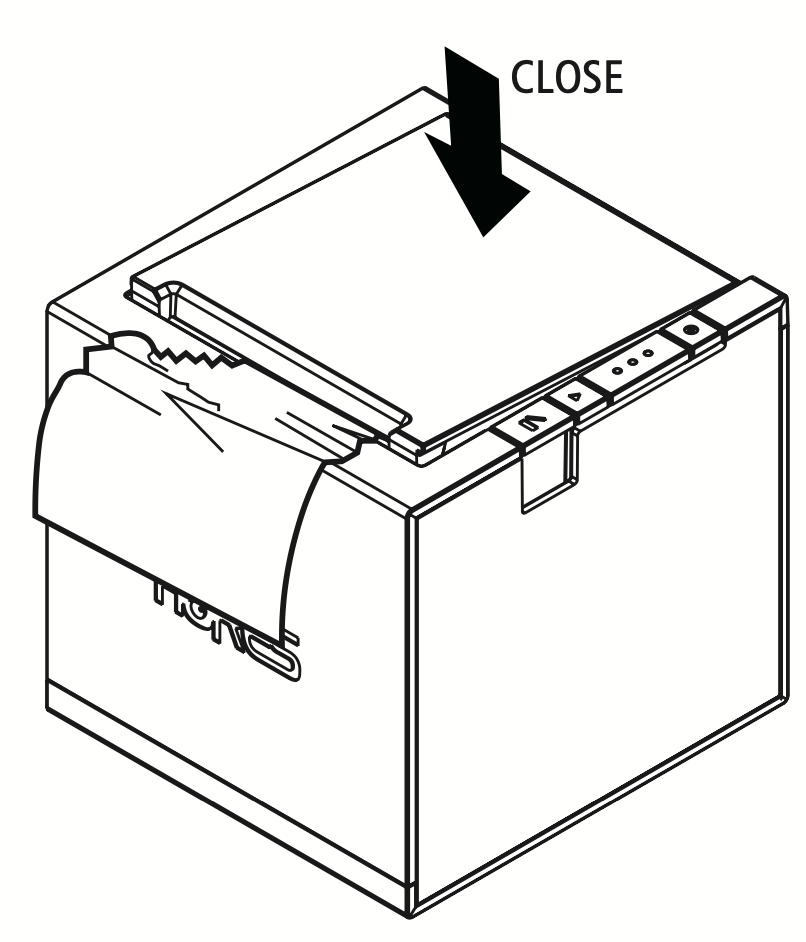
  6. Pull out a small portion of paper, as shown. Then, close the cover.
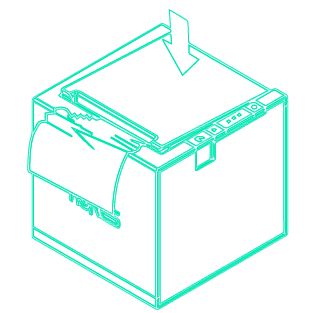
  7. Tear off the paper as shown.


Testing the Printer

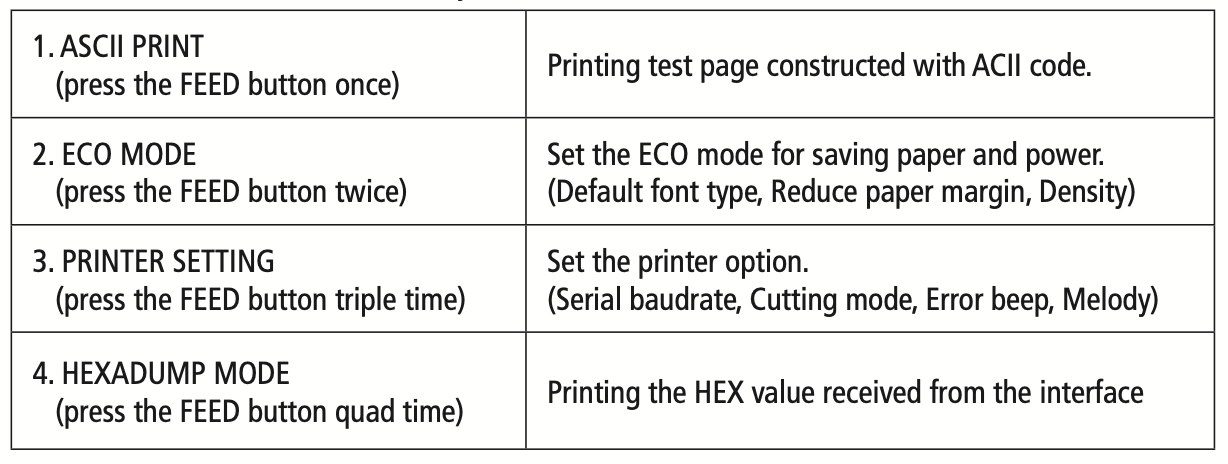
Check your printer with a self test.

Before you start: Make sure the printer is turned off and the printer cover is closed properly before performing the self test.

  • Turn the printer on holding the feed button, then the self-test will start. The self-test prints the printer setting value and then prints one of the following before pausing. See the table below to identify how to print each of the options.

Cleaning the Printer

CAUTION:If the interior of the printer is dusty, printing quality can be lowered. In this case, follow the instructions below to clean the printer.
Before you start:
  1. Make sure to turn the printer power off prior to cleaning. As the print head gets very hot during printing,it is recommended you wait 10 minutes after powering off before you clean.
  2. When cleaning the print head, take care not to touch the heated portion of the print head. It is important the print head should not become scratched or damaged in any way.
  1. Use an applicator swab moistened with an alcohol solution to clean the print head and remove any dust.
  2. After cleaning, allow a few minutes for the printer to dry.
  3. Insert paper roll into the printer and close the printer cover. See 'Changing Receipts' for more details if needed.


Paper Jam

When the cutter is jammed, please follow the steps below.
  1. With printer on, press the cover open button lightly to open.
  2. Turn the printer off and on, and when the cutter returns to its original position, remove the jammed paper and close the printer cover.
  3. If these steps did not resolve the issue, please follow these steps:
  4. Turn off the power.
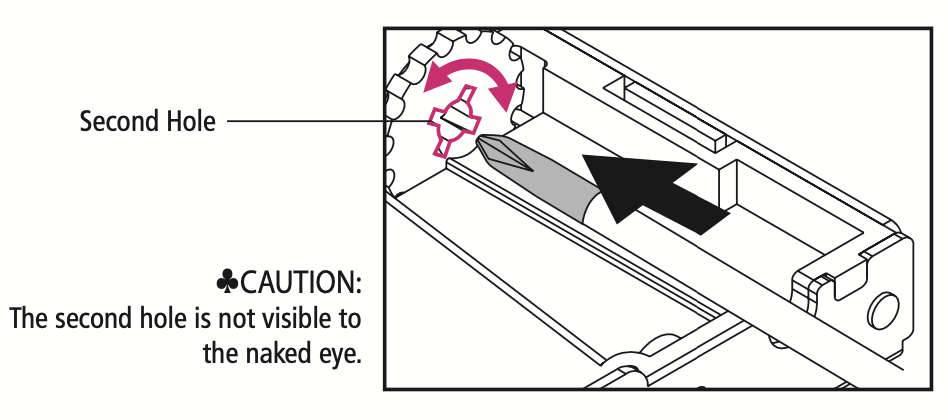
  5. Insert the screwdriver into the hole while pressing the cover open button as shown in the figure.
  6. Align the screwdriver with the second hole located inside the hole and screw. Any direction is fine.
  7. Close the printer cover after removing the jammed paper.
  8. Turn the power back on.

FAQs

Why is my printer not printing?

First, check all cables connect on the rear side of the printer as shown:

Then, check if an error light is displaying. Once identified, find the relevant guide or FAQ to help resolve your issue.

Help, my printer is jammed!

When the cutter is jammed, please follow the steps below.

  1. With printer on, press the cover open button lightly to open.
  2. Turn the printer off and on, and when the cutter returns to its original position, remove the jammed paper and close the printer cover.
  3. If these steps did not resolve the issue, please continue to read and follow the steps below:
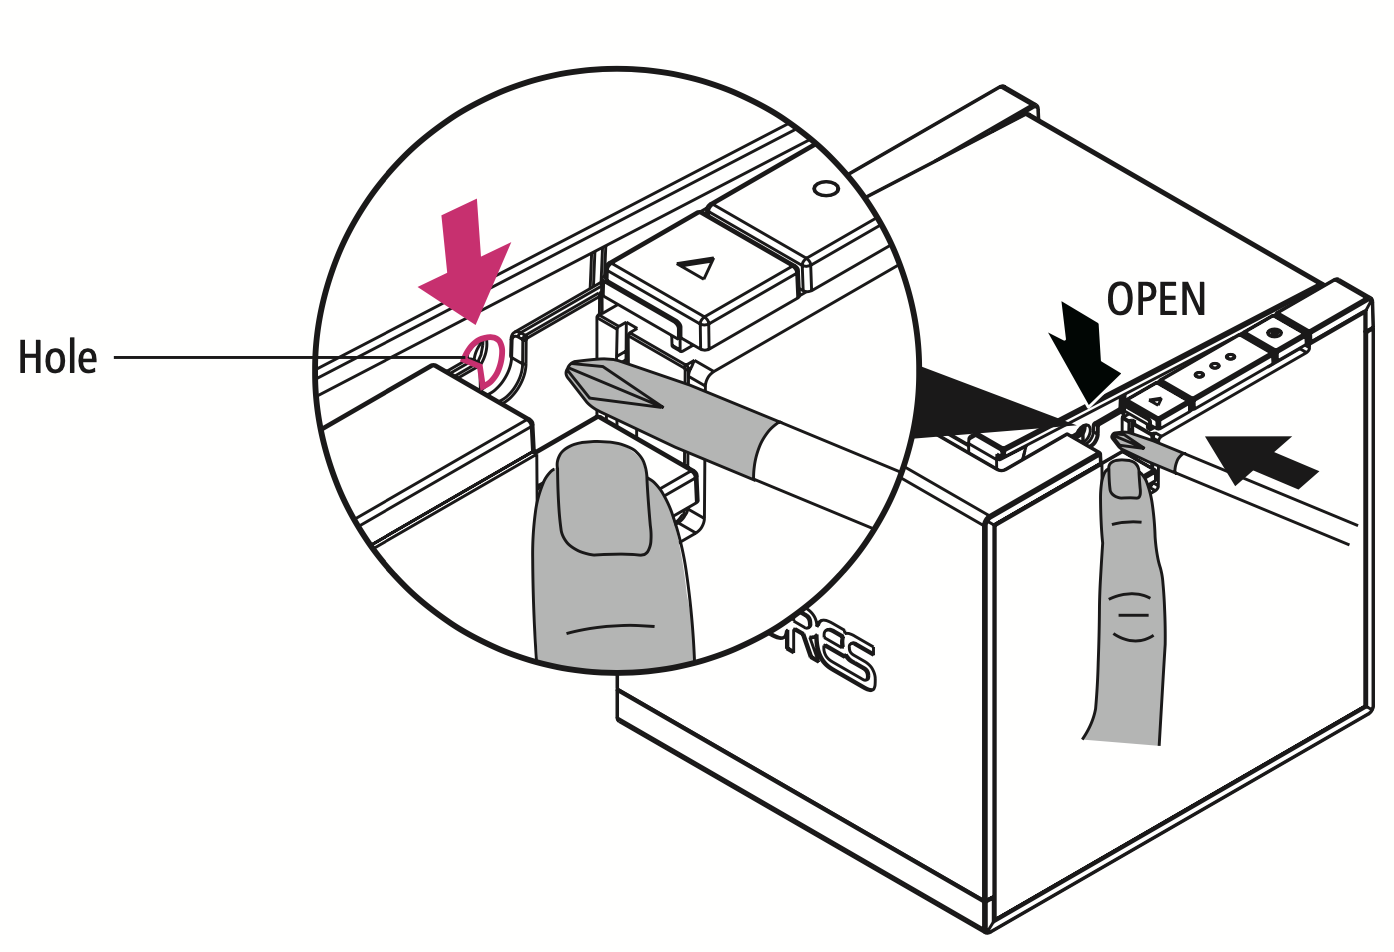
  4. Turn off the power.
  5. Insert the screwdriver into the hole while pressing the cover open button as shown in the figure.
  6. Align the screwdriver with the second hole located inside the hole and screw. Any direction would be ok.
  7. Close the printer cover after removing the jammed paper.
  8. Turn the power back on.

How do I clean my printer?

CAUTION:If the interior of the printer is dusty, printing quality can be lowered. In this case, follow the instructions below to clean the printer.
Before you start:
  1. Make sure to turn the printer power off prior to cleaning. As the print head gets very hot during printing,it is recommended you wait 10 minutes after powering off before you clean.
  2. When cleaning the print head, take care not to touch the heated portion of the print head. It is important the print head should not become scratched or damamged in any way.
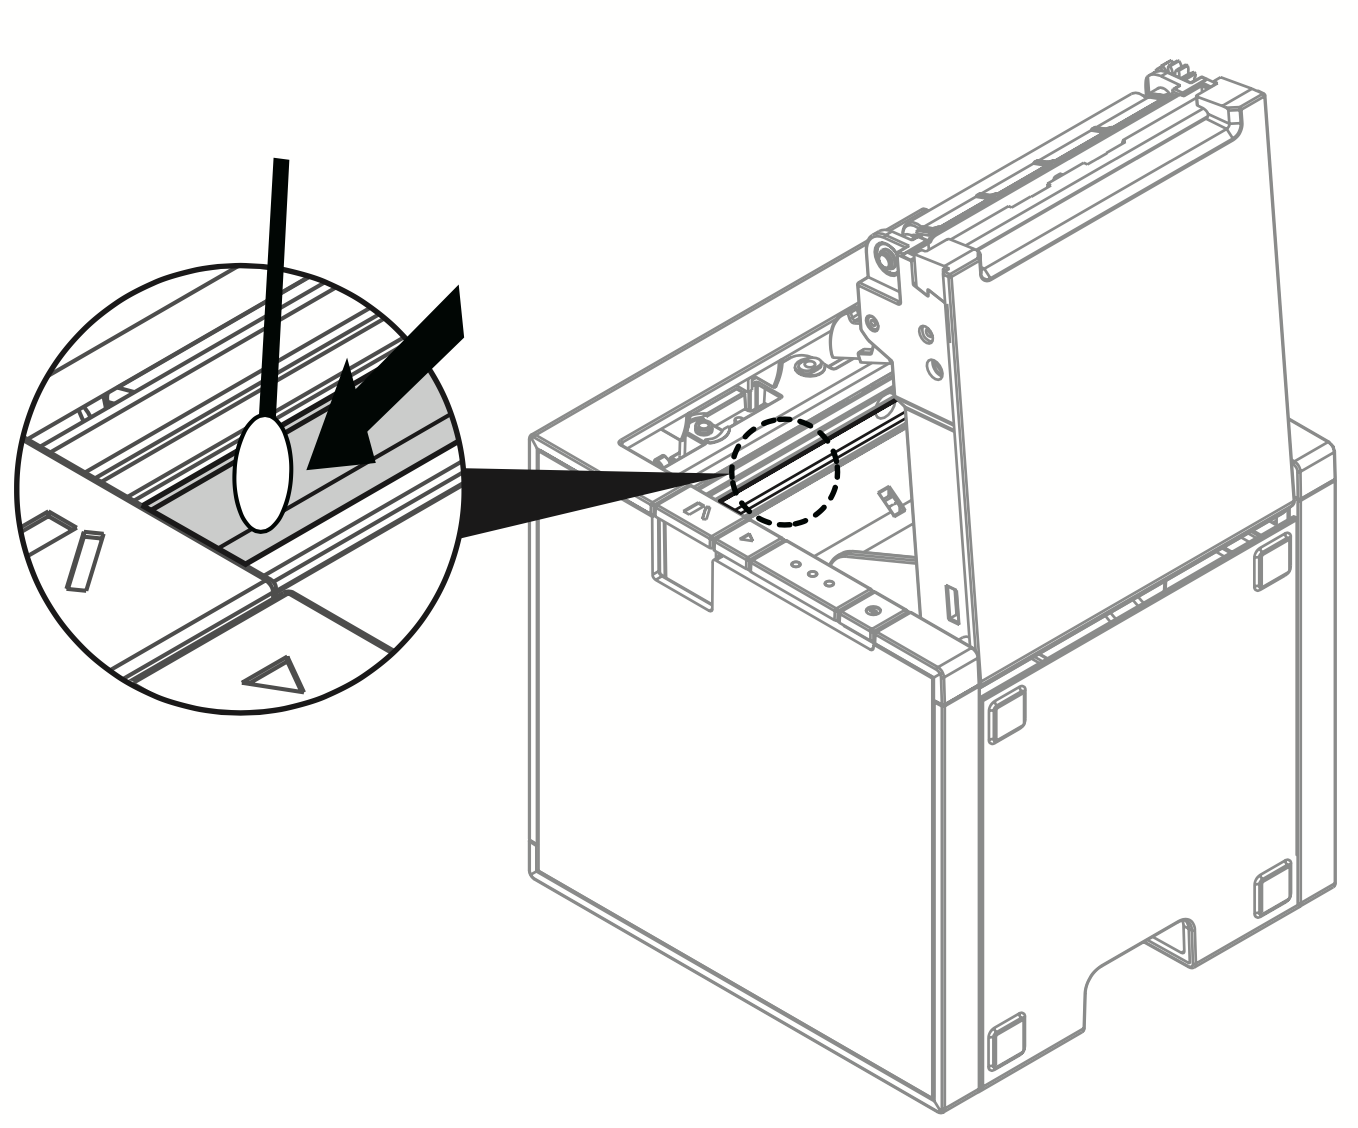
  1. Use an applicator swab moistened with an alcohol solution to clean the print head and remove any dust.
  2. After cleaning, allow a few minutes for the printer to dry.
  3. Insert paper roll into the printer and close the printer cover. See 'Changing Receipts' for more details if needed.

What does this light mean?

Hopefully this guide can help you understand what the various status lights indicate.


DOWNLOADS

ODP 444