GETTING STARTED
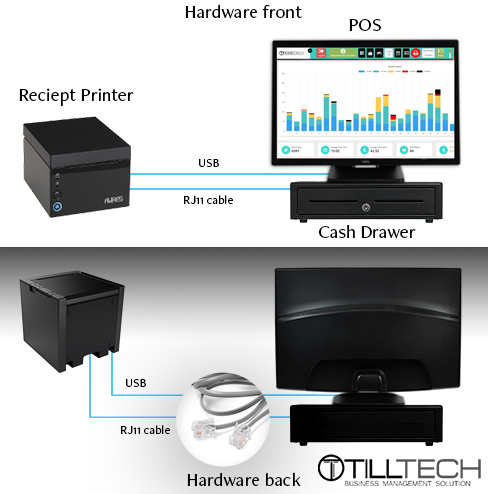
Use the guide below to connect your printer:
Connecting to Power
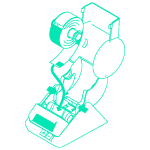
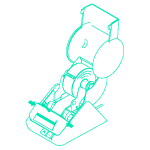
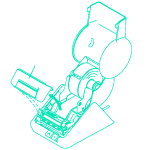
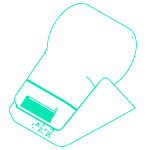
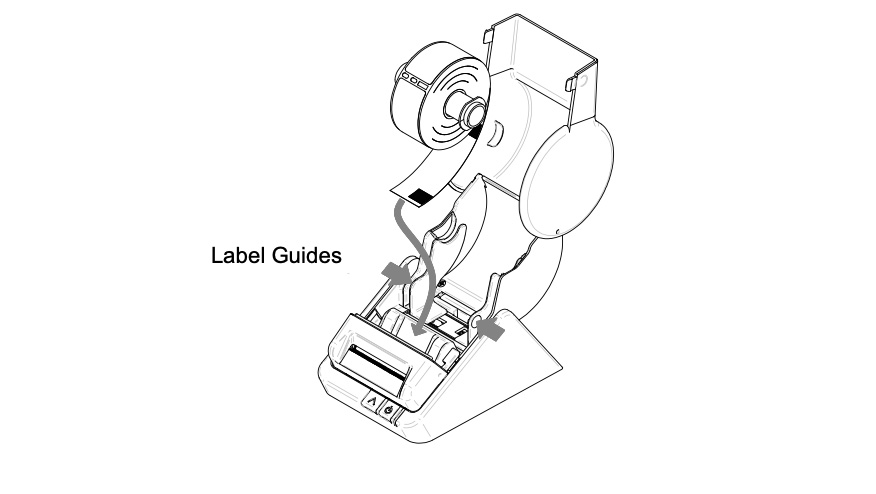
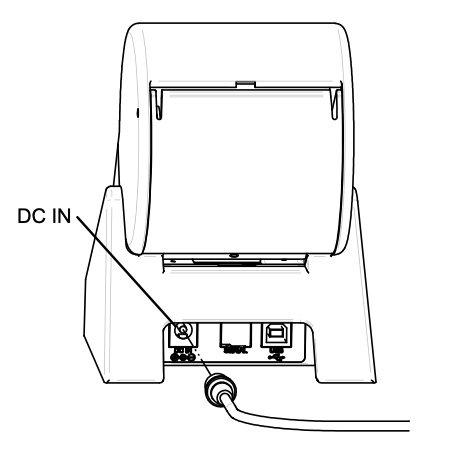
- Connect the AC adapter to the back of the printer and a power outlet. The printer will automatically turn on when connected to power. The light will flash green which indicates there are no labels loaded into the printer.
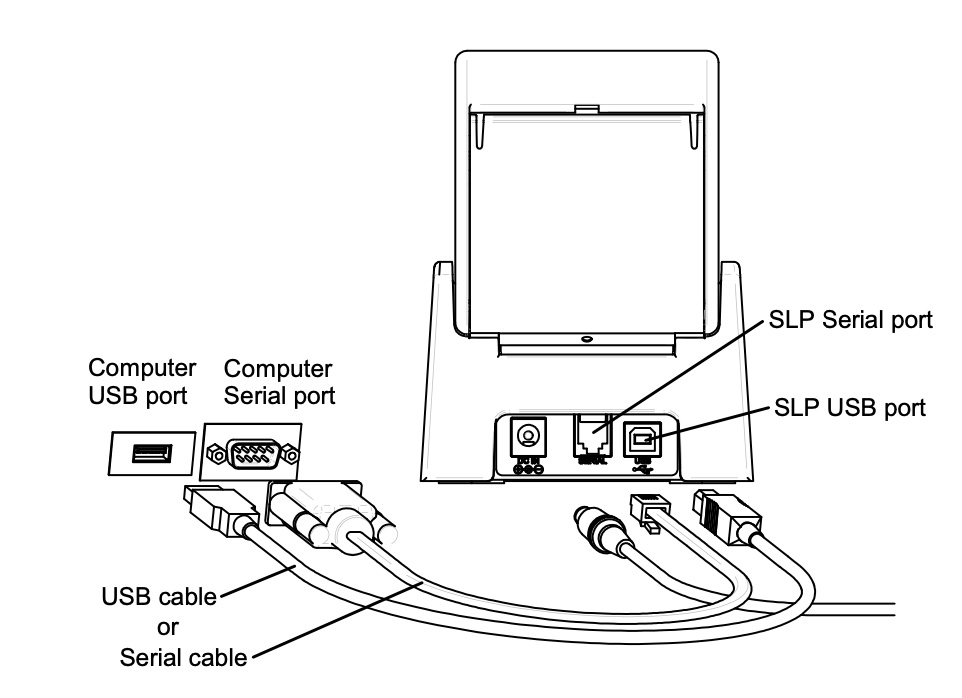
- Connect the printer to the computer or machine as shown in the diagram.
General Care and Maintenance
FAQs
Why is my printer not printing?
First thing to check is if the printer has power, if it does the status light will be a steady green (not blinking).
The printer needs to be plugged into the specific usb port of the computer or machine it has been set up to work from, it will not work with other machines or in other usb ports of the same machine. Once this is resolved, it should print.
What does an amber status light mean?
This indicates the printer is off-line. Pressing and releasing the power button toggles the printer between off line and on line. When the printer is off line it will not print labels. This is a handy feature when you don't want to waste labels and need to quickly turn the printer off line and delete labels from the print queue.
What does a flashing green light mean?
Most commonly, a green flashing status light indicates the printer has run out of labels. If printing is already in progress, a message will appear on your computer indicating the printer has run out of labels. However, a green flashing light may also indicate the printer is cooling down to an appropriate temperature.
What does a flashing amber light mean?
A blinking amber light likely indicates there is a paper jam. To resolve, complete the following:
- Make sure that the printer is turned off. If the status light is on, hold the power button until it turns off.
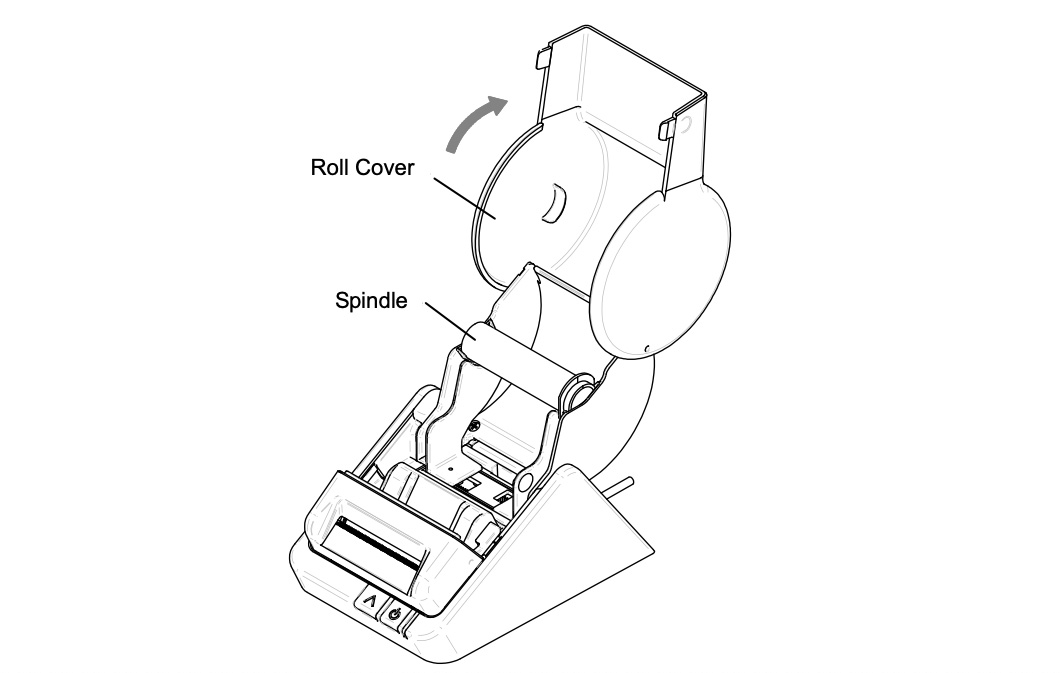
- Open the Roll Cover. With scissors, cut the label paper inbetween the label roll and the paper inlet slot.
- Remove the print engine cover by pressing both sides of the cover and pulling it towards you.
- Loosen the label paper by moving the platen release lever forward and hold it there until the paper is fully removed. Let go and place the platen release lever back in its original position.
- Replace the print engine cover, starting at the bottom, and push the top edge forward until it snaps into place.
Why are my labels printing incorrectly?
They could be misaligned or the labels could be jammed.
If they are misaligned, complete the following:
- Make sure that the printer is turned off. If the status light is on, hold the power button until it turns off.
- Open the roll cover and remove the print engine cover by pulling it toward you while pressing the left and right side of the print engine cover.
- You will be able to adjust the position of the label roll by holding the platen release lever forward. Gently realign the label paper so it is straight. Then, you can let go of the platen release lever and return it to its original position.
- Replace the print engine cover, starting at the bottom, and push the top edge forward until the print engine cover snaps into place. Make sure the labels feed through the paper inlet slot.
To resolve a printer jam, complete the following:
- Make sure that the printer is turned off. If the status light is on, hold the power button until it turns off.
- Open the roll cover. With scissors, cut the label paper inbetween the label roll and the paper inlet slot.
- Remove the print engine cover by pressing both sides of the cover and pulling it towards you.
- Loosen the label paper by moving the platen release lever forward and hold it there until the paper is fully removed. Let go and place the platen release lever back in its original position.
- Replace the print engine cover, starting at the bottom, and push the top edge forward until it snaps into place.
Why is my printer getting stuck?
The label roll could be misaligned or there could be a jam inside the printer.
If they are misaligned, complete the following:
- Make sure that the printer is turned off. If the status light is on, hold the power button until it turns off.
- Open the roll cover and remove the print engine cover by pulling it toward you while pressing the left and right side of the print engine cover.
- You will be able to adjust the position of the label roll by holding the platen release lever forward. Gently realign the label paper so it is straight. Then, you can let go of the platen release lever and return it to its original position.
- Replace the print engine cover, starting at the bottom, and push the top edge forward until the print engine cover snaps into place. Make sure the labels feed through the paper inlet slot.
To resolve a printer jam, complete the following:
- Make sure that the printer is turned off. If the status light is on, hold the power button until it turns off.
- Open the roll cover. With scissors, cut the label paper inbetween the label roll and the paper inlet slot.
- Remove the print engine cover by pressing both sides of the cover and pulling it towards you.
- Loosen the label paper by moving the platen release lever forward and hold it there until the paper is fully removed. Let go and place the platen release lever back in its original position.
- Replace the print engine cover, starting at the bottom, and push the top edge forward until it snaps into place.


